Learning how to maintain RV tires is one of the most important things you can do as a new RVer.
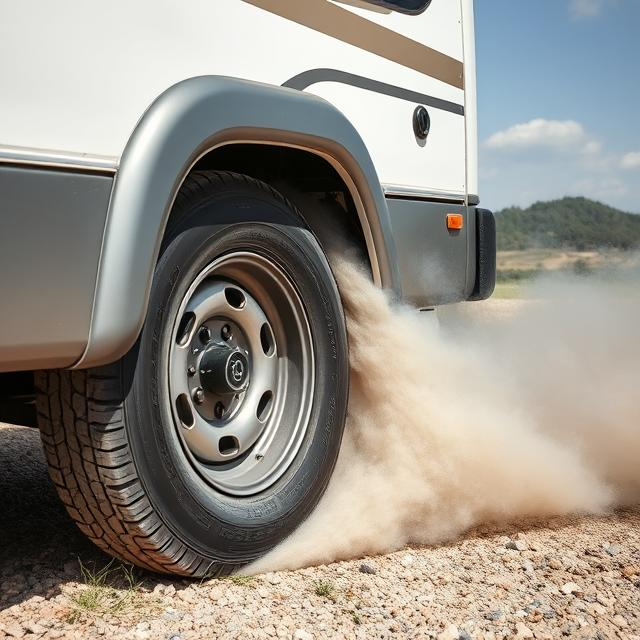
Several years ago, I was on a cross-country trip through the Arizona desert. I had checked everything—or so I thought. About two hours into my drive, I heard a loud BANG followed by a sudden jolt. I fought to keep the RV steady as I pulled over to the side of the highway. One of my rear RV tires had completely blown out. Luckily, no one was hurt, and I had a spare, but I was in the middle of nowhere and it was over 100 degrees outside.
Looking back, I had ignored the warning signs. The tires were a couple years old, and though they looked fine, they had dry rot starting to form. Had I replaced them sooner, I could have avoided a very stressful and potentially dangerous situation. Now that I know how to maintain RV tires, I’ve made tire maintenance a non-negotiable part of my pre-trip checklist.
It was that day that I decided it was a good idea to learn how to maintain RV tires. Few things are as crucial to RV safety as well-maintained tires. Your tires are the foundation of your home-on-wheels, and neglecting them can lead to dangerous situations on the road. A sudden blowout or a flat tire in the middle of nowhere can quickly turn a dream trip into a nightmare. That’s why every RVer should have a tire maintenance routine and a solid understanding of tire care best practices.
How to Maintain RV Tires
How often should you change RV tires? It’s different than your car. Unlike regular automobile tires, RV tires don’t always wear out due to mileage alone. Instead, they age over time, even if they have plenty of tread left. Most experts recommend changing RV tires every 5 to 7 years, regardless of their appearance. Factors like exposure to UV rays, temperature fluctuations, and storage conditions contribute to tire degradation.
A good rule of thumb is to check the DOT code on your tires to determine their age. The last four digits of this code indicate the week and year of manufacture. For example, a DOT code ending in 2519 means the tire was made in the 25th week of 2019. If your tires are approaching that six-year mark, it’s time to replace them—no exceptions.
Many new RV owners assume that fresh off-the-lot RV tires are high quality and road-ready. However, this is often not the case. Manufacturers frequently install lower-grade tires that are designed to meet minimum weight and performance requirements, but they may not hold up under real-world conditions. Upgrading to high-quality, name-brand tires can improve safety, longevity, and overall performance. Investing in better tires from the start can help prevent blowouts, improve fuel efficiency, and provide peace of mind on long trips.
How do you prevent dry rot and tire degradation on RV tires? Dry rot is one of the biggest threats to RV tires. It occurs when rubber compounds break down due to prolonged exposure to the sun, ozone, and dry conditions. Cracked, brittle tires are at high risk for failure, even if they look like they have plenty of tread left.
Here’s a checklist on how to maintain RV tires and keep them in top shape:

- Store Your RV Properly: If possible, keep your RV in a covered area or use tire covers to protect against UV damage.
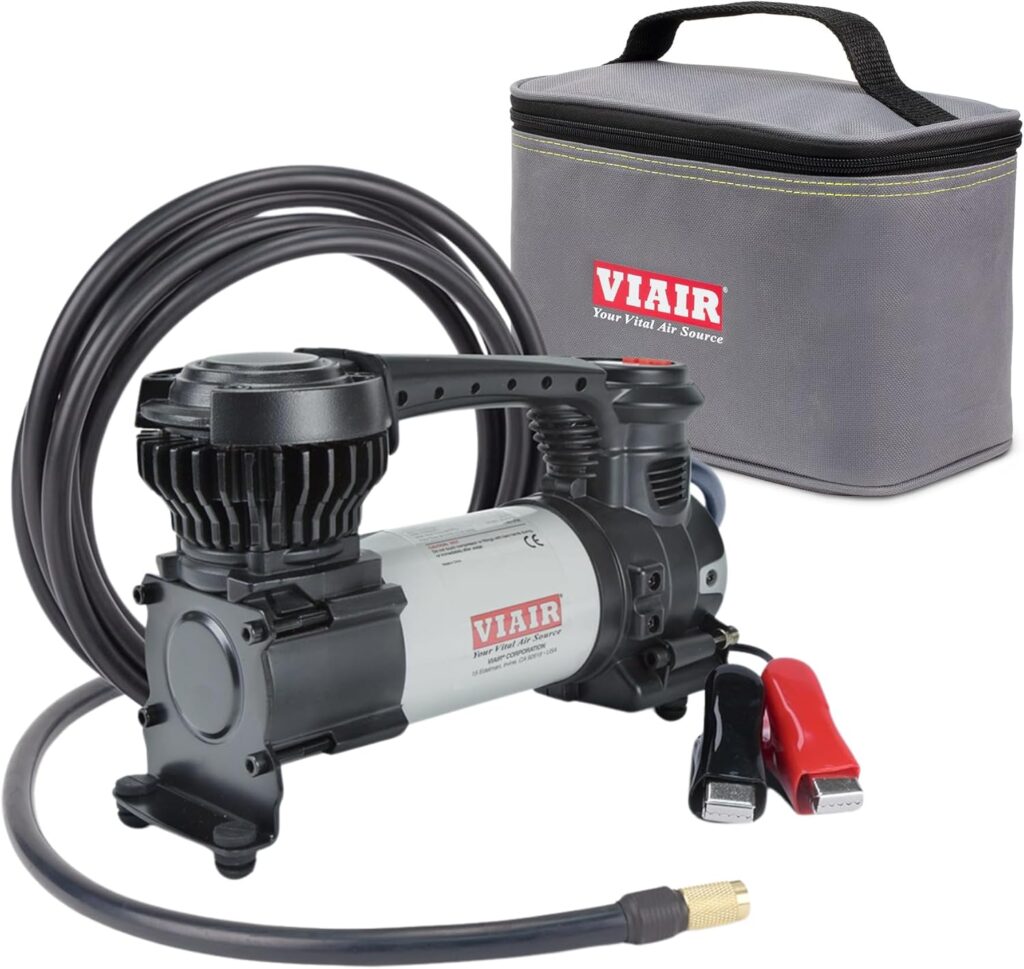
- Keep Tires Inflated: Under-inflated tires can develop cracks more easily, so check tire pressure regularly. Look on the vehicle or in the owner’s manual for the proper pressure for your RV tires. Keep a portable air compressor in the tow vehicle or RV, preferably one that works with a car battery. Don’t skimp on this item. Something like the VIAIR Portable Air Compressor is a good option.
- Use a Protectant: Apply a UV-resistant tire conditioner to keep the rubber from drying out.
- Avoid Prolonged Parking on Concrete: Concrete can draw moisture out of tires. Use leveling blocks or rubber mats instead.
- Drive Regularly: Tires last longer when they’re used. Taking your RV out for short drives can prevent flat spots and keep the rubber flexible.
An RV Tire Checklist Before Every Trip
Examining RV tires should be part of a monthly RV maintenance checklist. But, before hitting the road, make sure your RV tires are road-ready by going through this quick checklist:
- Check Tire Pressure: Use a reliable tire gauge to ensure each tire is inflated to the manufacturer’s recommended PSI.
- Inspect for Cracks & Dry Rot: Look for any signs of cracking on the sidewalls and between the treads.
- Check Tread Depth: Worn-out tread reduces traction and increases stopping distances. Replace tires with a tread depth of less than 4/32”.
- Look for Bulges or Uneven Wear: These could indicate internal damage or alignment issues.
- Tighten Lug Nuts: Loose lug nuts can lead to dangerous wheel separations.
- Check Valve Stems: Make sure they are not cracked or leaking air.
- Use a TPMS (Tire Pressure Monitoring System): A TPMS alerts you in real time if a tire loses pressure while driving.
Learning how to maintain RV tires is not hard. A well-maintained set of tires means a safer, smoother trip for you and your passengers. By following a proper maintenance routine, storing your tires correctly, and replacing them on schedule, you can minimize the risk of unexpected blowouts.
Before your next adventure, take a few minutes to check your RV tires. That small effort could save you from a major disaster on the road. Safe travels!
Is there anything you do to maintain your RV tires that we didn’t mention in our how to maintain RV tires post? Drop a comment below.


